
Need inspiration for a cute & simple Gothic Mother's Day Craft?
Well, look no further, we have the perfect craft to make for your goth mom!
We're known for our beautiful, high-quality wrapping paper. Grab a sheet and start this adorable Heart Basket Craft. We'll walk you through each step to make a simple but impactful gift for your mom, mother-in-law, grandmother, witchy aunt, and even your momster friends.
If you have trouble with any of the steps, click HERE to watch the video tutorial on our Instagram to help visualize each step of the craft!

✂ Materials you will need for your Gothic Mothers Day Craft: Heart Baskets!
- Gothic Spooky Cat Press Paper (the paper we are using is linked below!)
- A Pen or Pencil
- A Ruler
- Double Sided Tape
Step 0: Cut Your Paper
Take your gift wrap or craft paper
Measure out two 12 inch by 12 inch squares
Cut them out
You can make you squares any size for your gothic mothers day craft, but we used 12 inch by 12 inch because that fits a mug, a card, and a sticker sheet! We recommend not making it smaller than 5 inches by 5 inches, because at that point the folds get much harder to make correct.

Step 1-3: Initial Folds
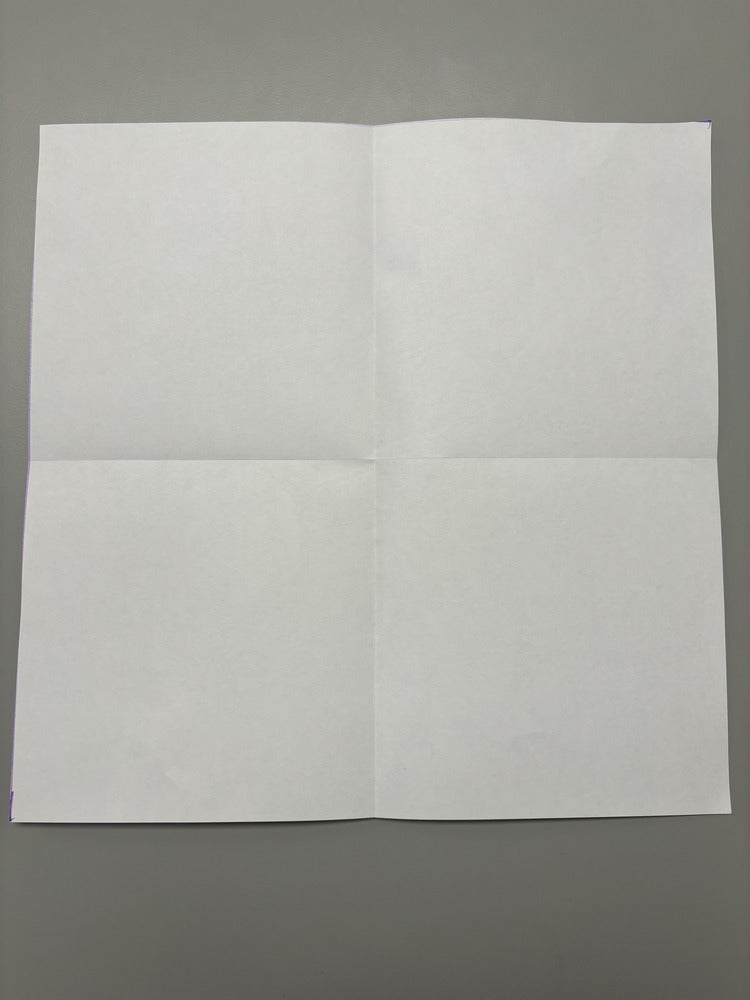


Step 1: (First Photo) Fold your square in half horizontally and vertically.
Step 2: (Second Photo) Fold the bottom of the page up towards the horizontal center of the page.
Step 3: (Third and Fourth Photos) Flip the paper over and fold up the two bottom corners so that they meet in the center of the page.
Step 4-7: More folding
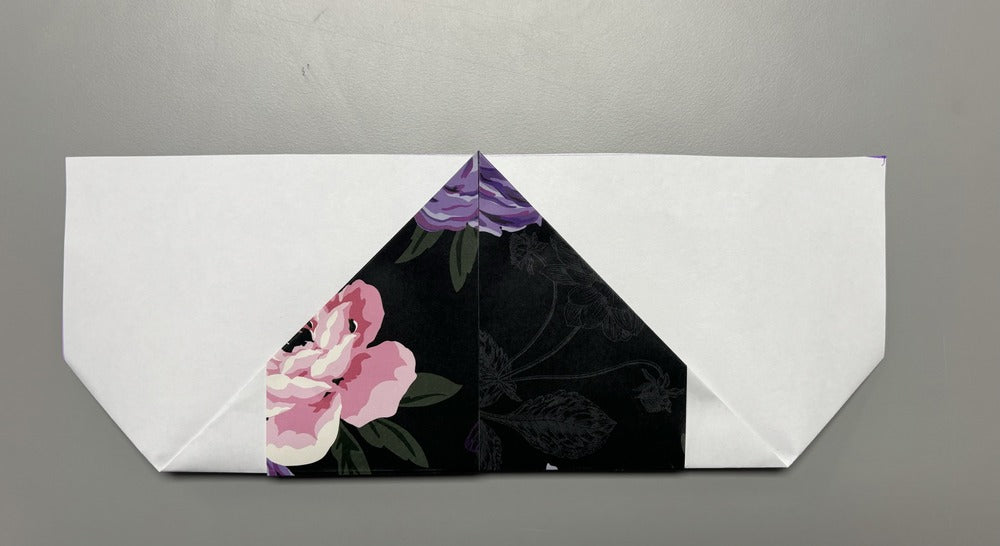


Step 4: (First Photo) Flip the paper over again and then fold the center point to the top of the page.
Step 5: (Second and Third Photos) Flip the page back over to the back, and open the top flap as shown in the third photo.
Step 6: (Fourth Photo) Flatten the top flap open, on both sides.
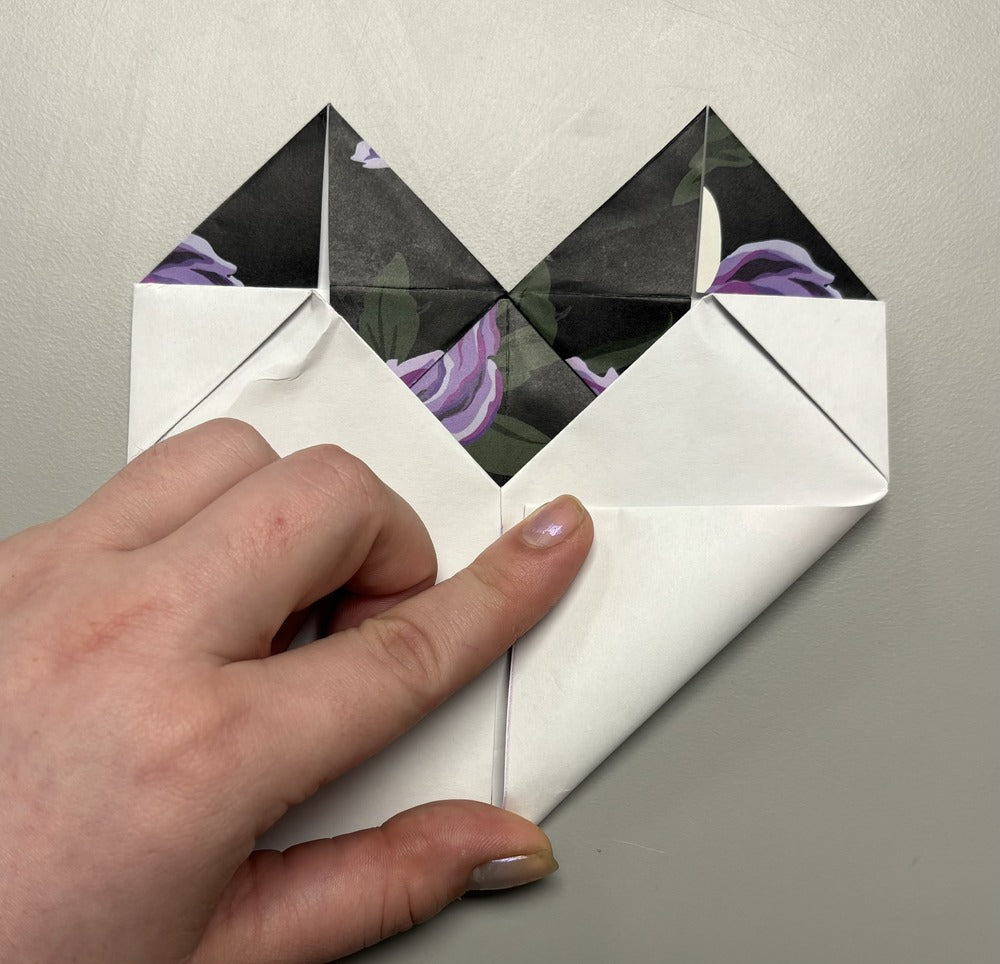
Step 7: (Fifth Photo) Fold the white part of the flap in towards the center of the triangle to create the top of the heart.
Step 8: Fold the back of the heart
Fold the side sections inwards to meet in the middle. You should be able to follow a crease from a line you folded earlier.
Make sure to crease well on the upper part of each fold, because the paper gets thick there.

Step 9-12: Final Folds


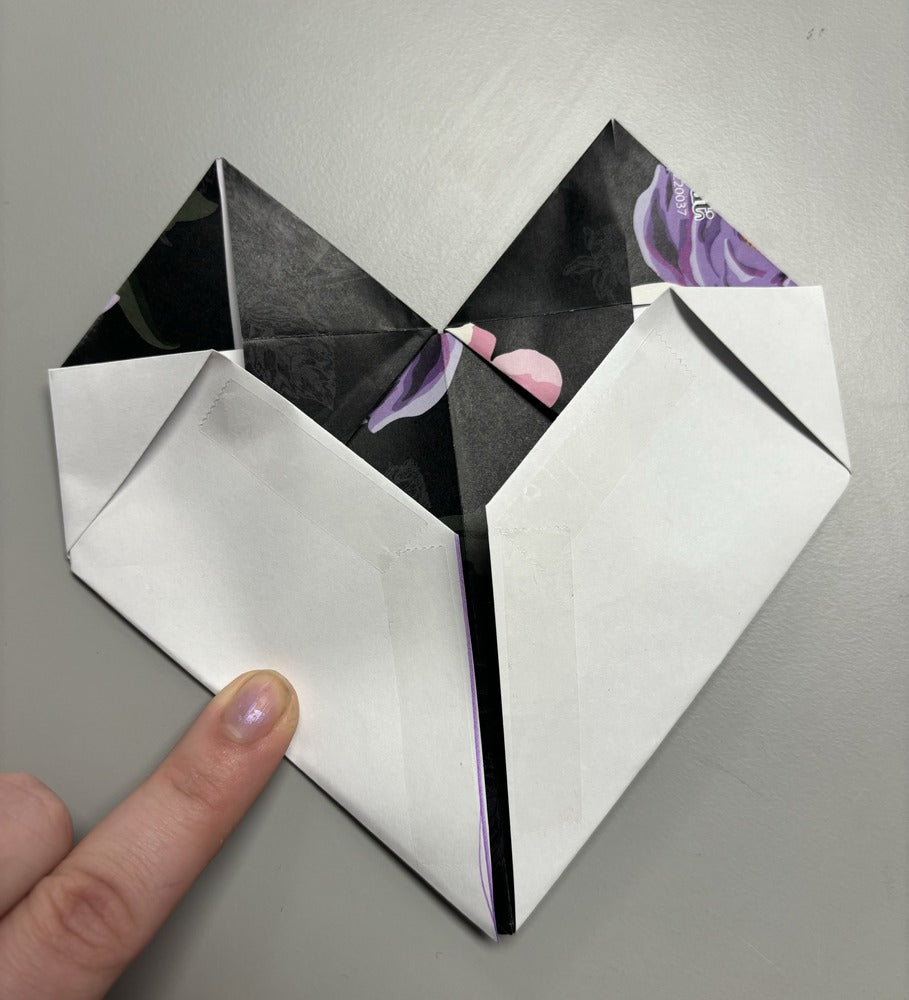
Step 9: (First Photo) Still on the back of the heart, fold in the bottom corners towards the middle. Fold in both sides
Step 10: (Second Photo) Unfold the flaps you just made.
Step 11: (Third through Fifth Photos) Flip the heart over so that the front is towards you, and then fold the flaps you made into the inside of the hear, and fold them down.
Step 12: (Not Pictured) With your other square you made, duplicate all of the folds you just made to made a second heart!
Step 13-15: Taping


Step 13: (First Photo) Use double sided tape on the inside edges of the white flaps on one of your hearts.
Step 14: (Second Photo) Open up the flaps on both hearts, and fit the heart with the tape on it inside of the flaps of the other heart, to make the center of the hearts into a pocket that can hold things.
Step 15: (Third and Fourth Photos) After you fit the hearts together, the bottom of the heart will be sticking out oddly, so use more double sided tape on the middle of the underside of the heart, to stick it down.
Step 16-18: Final Touches


Step 16: (First Photo) Take one of your scrap pieces left over from your gothic wrapping paper and cut it into a long rectangle.
Step 17: (Second Photo) Fold that long strip in half so that the pattern is visible on both sides.
Step 18: (Third Photo) Tape the thin strip to the inside of your heart on both sides to make a strap for your basket.
Step 19:
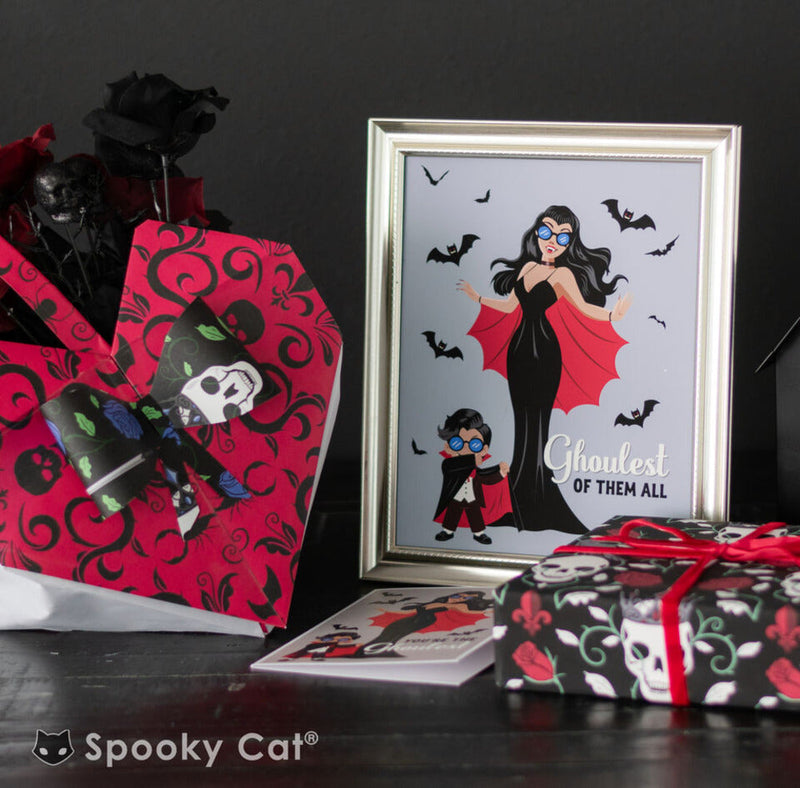
Fill the heart basket with gifts for your Gothic Mom! We used some inexpensive flowers in ours!
Now you can make heart baskets to hold all of the lovely Gothic Mothers Day gifts!
Happy crafting, and happy Mother's Day!


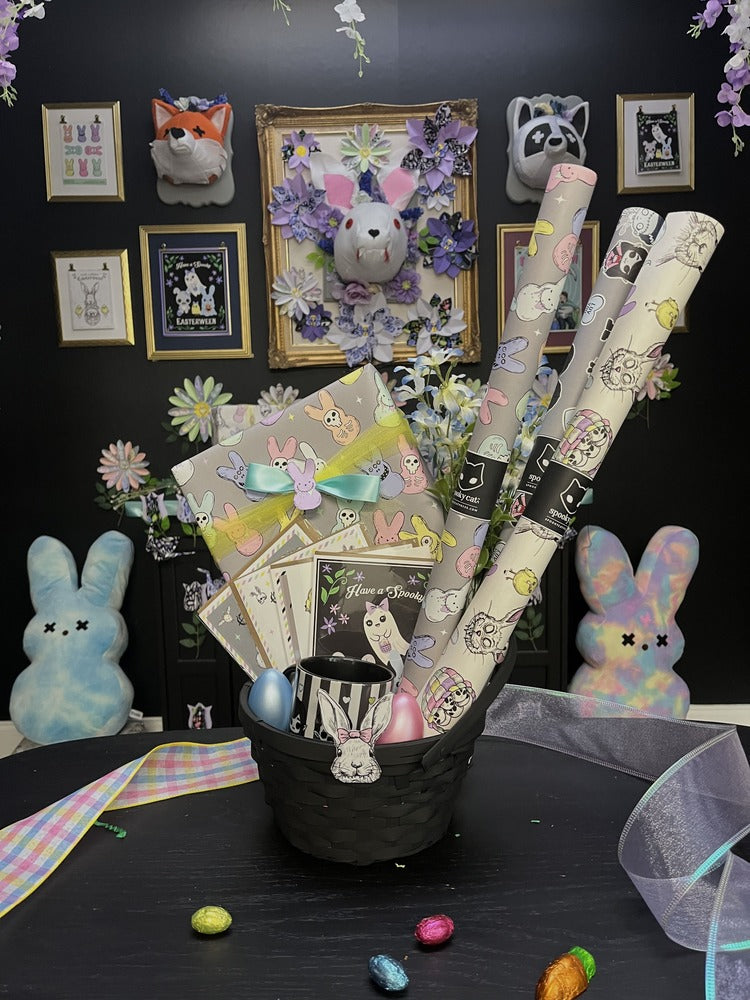
Here are some different ways you can use the baskets! They can go into a larger basket or be filled with spooky socks!